1993-1996
1997-1998
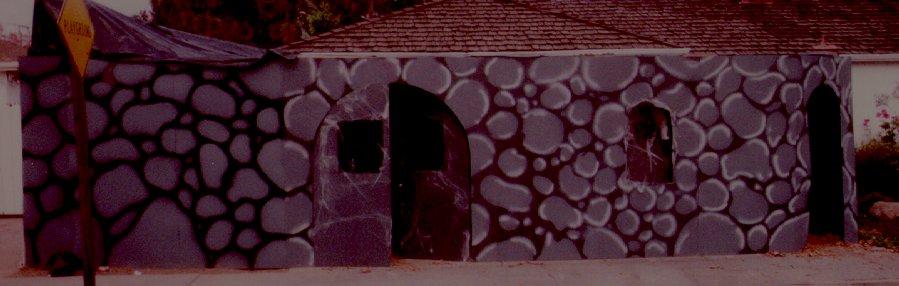
Well after a few stolen items and the hassle of tenting in the top of our old
design, I decided that since the cemetery in our old haunted house was the
biggest hit, that I would change the design and build a cemetery instead of
a house. I figured that with a gate no one would go inside and therefore we
wouldn't loose any more props to theft or curious people pulling on them to
see how they work or what they were made of. I also liked the idea that I
could better display my props and hopefully could spend more time building
new props and less time constructing a house.
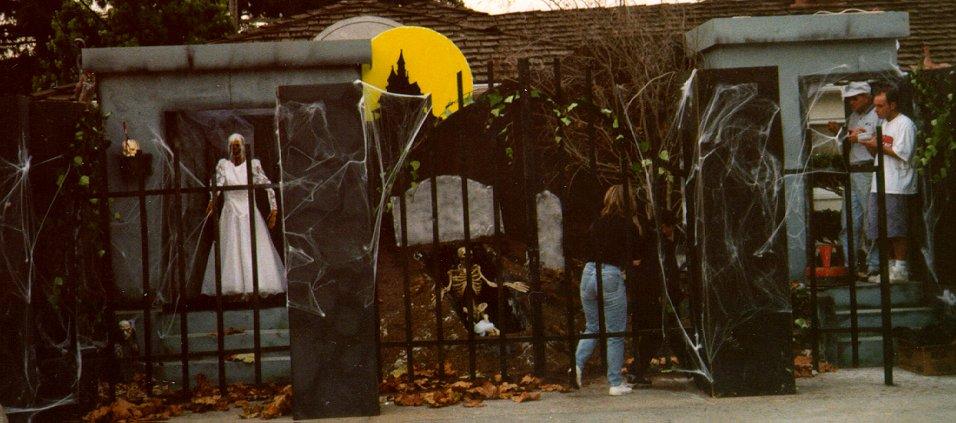
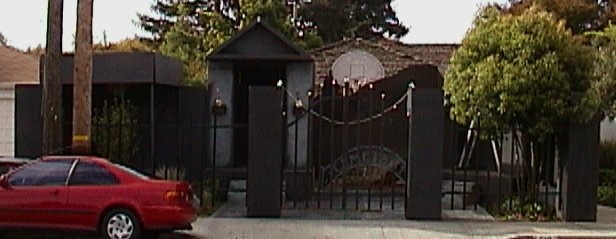
Well the first year was pretty interesting. We had built a gate on the right
hand side and a walkway that would lead you into a mausoleum and then down
another set of stairs into our backyard. Well we had everyone opening the
gate and wandering into our display as well as into our backyard. Not exactly
what I hoped for but all in all it turned out pretty well. The second year
with this design worked exceptionally well. We 86ed the gate idea and built
a secret door on the side of the right mausoleum. No one that wasn't involved
in the production ended up in our backyard and no props were destroyed or
stolen. If your wondering how we built up the cemetery floor, it was first
constructed out of chicken wire, covered with black plastic, sprayed with
glue then covered with dirt. This didn't work very well so the next year we
tried again. We built it the same way then covered the chicken wire frame
in wet newspaper then covered with plaster of paris. After it dried we covered
it with moss and compost. I really really really wouldn't recommend this to
anyone. It took almost 8 months for all of the plaster that spilled onto our
driveway to erode away. The 3rd year worked pretty well but I'll explain that
in the '99 design.
1999
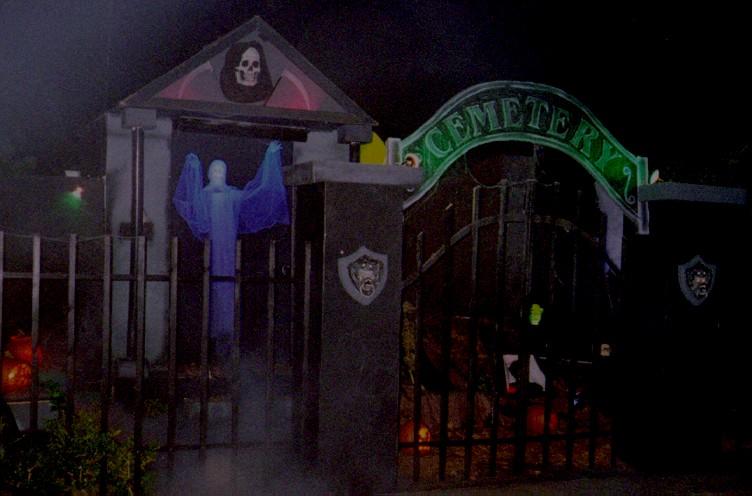
Well here is the latest design. I started alot earlier this past year which
gave me time to go into more detail on my fence and mausoleums. This was also
my first year working with pneumatics so it was alittle more exciting. I was
able to design and or create a cemetery sign, wall plagues, a "flying crank
ghost", a skeleton that continuously rocked in a really cool rocking chair,
and a few other props that are listed in my props section.
I also figured out that if I cover my cemetery ground with chicken wire and
dark brown burlap, I can simulate dirt mounds without the messy clean up as
well and year to year use. The only problem was tat I couldn't find dark brown
burlap so I had my brother dipping 50 yards of burlap into brown clothing dye.
It didn't turn the color I hoped for but I have a while to dye them again.
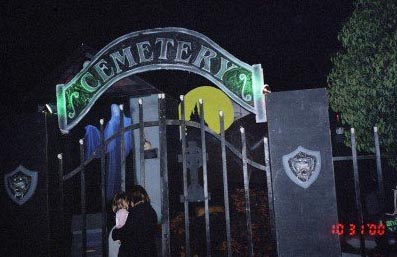
Well this was the first year that about 75% of the haunt was computer controlled.
We incorporated X-10's products
to run our newest props as well as foggers and a few lighting effects. Unfortunately
mother nature didn't want to be cooperative, and she provided us with rain
for the first 2 weeks of construction. Other then having to skimp on detail
as replace a great deal of electrical products, the haunt was a success. We
learned alot and will hopefully have an upperhand next year. Maybe for once
we'll actually finish before the 31st. Yeah right.
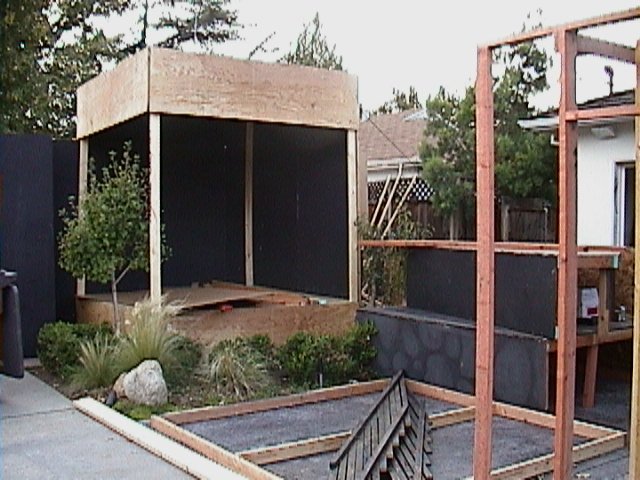
Here are a few more pictures of the actual building process.
Here are a few pic's of what we did for the 2000 DC Cemetery.
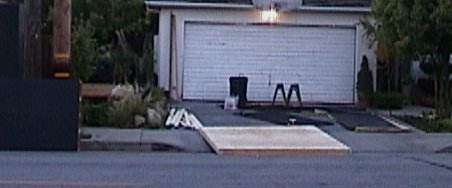
Here's is the first night of construction.
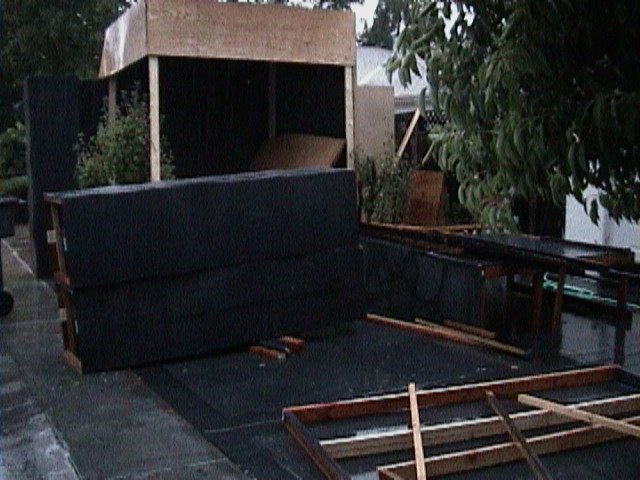
Good old mother nature really didn't want us to finish building the cemetery this year.
These were the conditions we had to build in for most of the time.
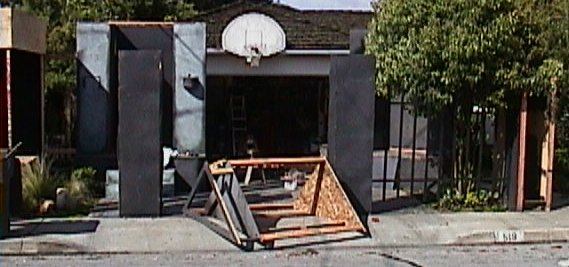
This was the final day of construction, I believe about 8am on the 31st, far from being done.
Full Instructions for most of our props available in the DC Prop Builders Handbook
Back to props