
|
|
|
(works on the principle of heat (hot fog) raising |
|
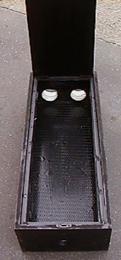
Wire Grate Chiller
|
What you will need:
|
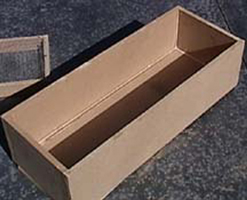
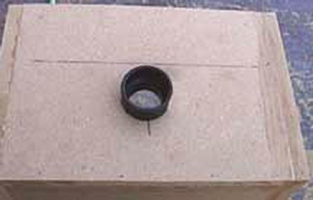
The first thing you will need to do is cut the MDF into the following sizes:(all are measured in inches) 2@36x12(sides), 2@11.25x12(front & back), 1@11.125x34.25(top), 1@11.5x34.5, 2@34.25x2(inner box sides), 2@9.875x2(inner box front and back). With the pieces cut, you will now construct a box that will be 36'' long by 12" square. I recommend using Elmers exterior wood glue on all of the wood bonds, and use a pneumatic nail gun to secure it all together. Once thats done you will need to build an inner box that will have the outer dimensions of 34.25" long 11.375" wide and 2" high. When that is done, staple the screen to one side of the small box frame (see pic below). Now make sure your inner box slides into the outer box, make sure there is enough space to compensate for when you paint the insides. Now cut 2 holes near the bottom of one end to accept the 2 3" pvs outlets, and 1 1.5" hole on the other end to accept the inlet. When cutting the inlet hole, match up the center to the center of your foggers outlet. You want these to match up so you dont have to have the fogger or chiller elevated to compensate for the others height. Now insert the pvc fittings and screw them into place. Once thats done your ready to seal the edges with silicon and then paint the inside with a minimum of 2 coats. If you dont seal the MDF is will absorb the water and fog fluid and expand the board. This will end up with a box that leaks fog and will eventually fall apart.
Once the paint is dry insert the inner box with the screen pointing down. This will be the area that the dryice will lay in. Insert the inner box and recess it in a little more then 3/4 of an inch, to compensate for the lid and half the thickness of the weatherstrip. Screw the inner box into place. It only needs 2 screws on each side, but if you plan on the chiller supporting any weight, add additional screws as well as increasing the screw strength(thicker screws). Now that that is done, your ready to mount the lid. On one end use 2 hinges and on the other mount your window hasp. Now apply the weatherstrip to the lip around the inner box(where the lid rests). Make sure that you make a good seal and staple the weatherstip to the innerbox.. Your chiller is all done. Add some dry ice, hook up your fogger with the rubber connector and pipe your fog thru your 4in pvc. If you are going to pipe your fog away from the chiller to different locations, I recommend using pvc. I say this because pvc has a smooth inside that will not disrupt the fog. You can use dryer duct, but if you compare the 2, you will notice that the fog exiting the pvc will be alot smoother and tend to stick to the ground alot better. Play with this one and see what works best for you.
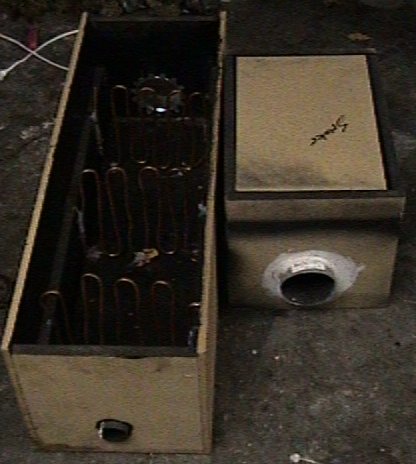
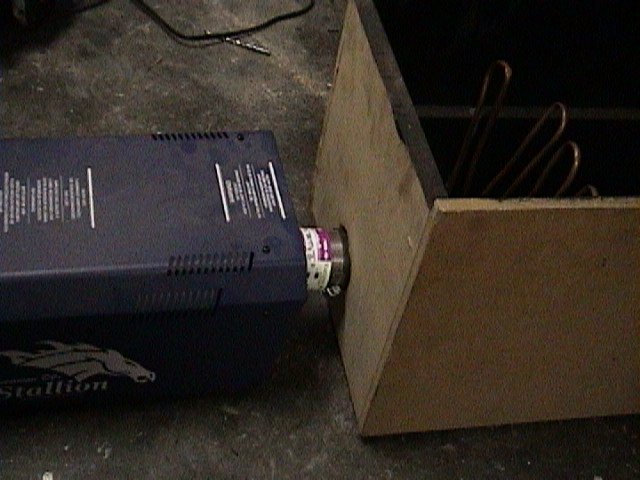
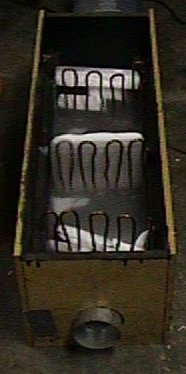
Copper Coil Chiller
|
What you will need:
|
This is a very basic, yet extremely effective way to cool down your fog so it remains low flying. It works on the principal of heat rising and cool air staying near the ground. By adding the freezing copper tubing, the hot fog will pass through the cold coils and cool off the fog, resulting in a low flying fog effect.
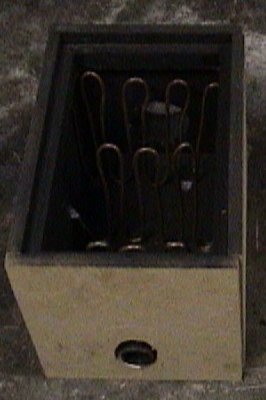
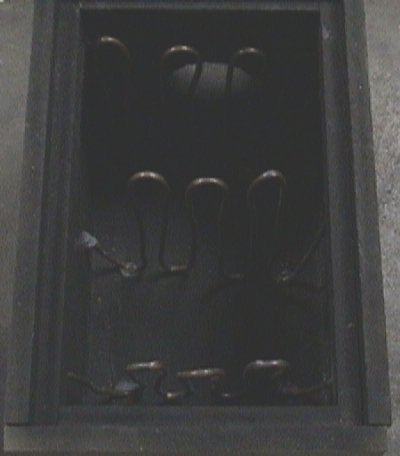
The first thing you need to do is build a box or use a cooler. Next you will need to cut an approx. 4in hole in 1 end and a 1.5in hole in the other. Now install your dryer duct fitting into the 4in hole and the 1.5in threaded fitting into the other. You then will need to bend the copper tubing into a radiator shape (I built a jig, that would allow easy and non kinked bends, but it really doesn't matter). I added 3 sets of these radiator shaped tubes into each of my coolers. The more radiators you have, the better cooler you have. The copper tubes act as a transport for the cold to travel upwards, to where the hot air will be flowing. Since cold air normally stays low, while the hot stays high, most coolers are rendered useless. Now that you have your radiators bent and inside the box, glue the edges down and allow them to dry overnight.
 |
 |
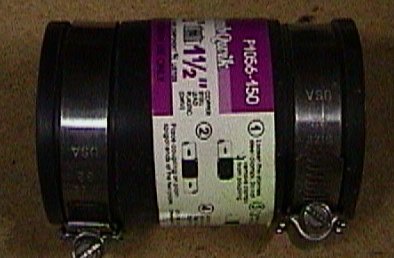 |
Once the glue is dry add the rubber connector to the 1.5in fitting and the other end of the rubber fitting onto the nozzle of your fog machine. Connect your pvc pipe or dryer ducting to the exhaust port and run it to your desired area. Finally, add your dry ice*, seal the top and your ready for business.
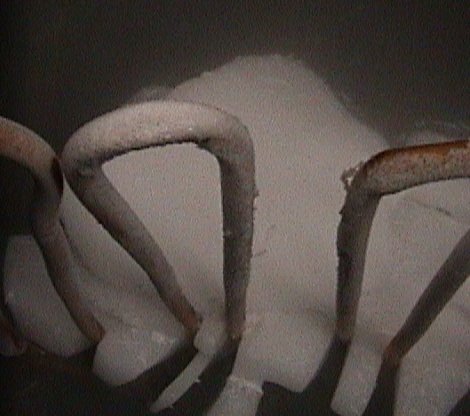
*The copper tubing makes a shrilling sound when it comes in contact with the dry ice, so be prepared.
 |
 |
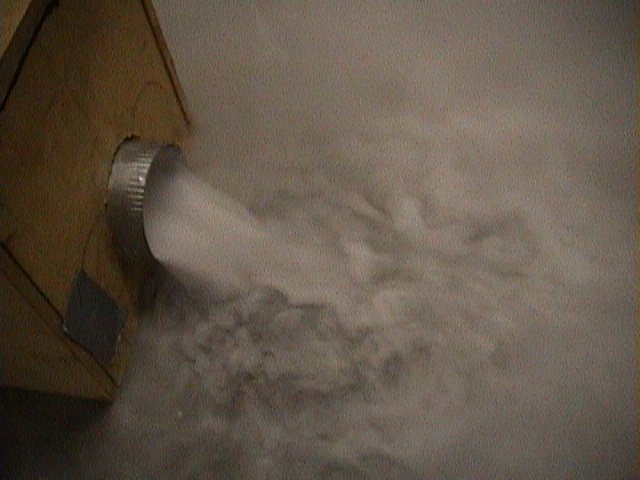 |
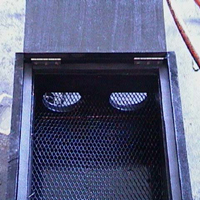
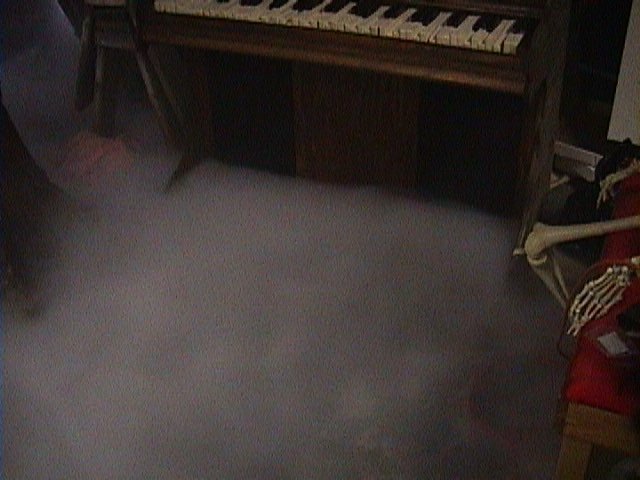
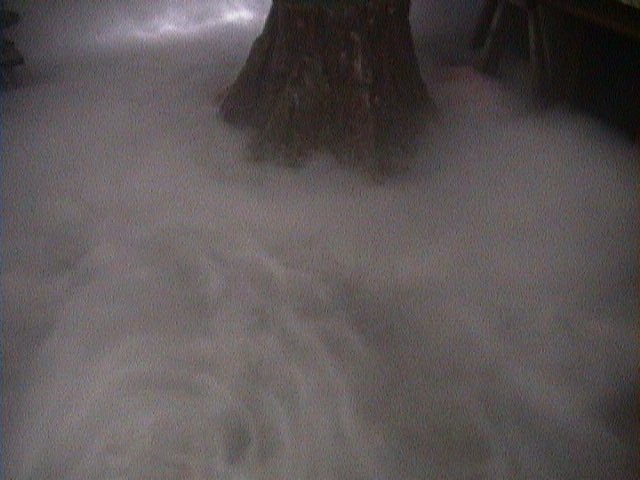
Here are a few pictures of how the fog looks with the old chiller
 |
 |
 |
See
a video of the foggers in action
Click here for Fog Fluid Tests
w/ videos
Back to props